Warning: Trying to access array offset on value of type bool in /var/www/html/wp-content/plugins/wp-word-count/public/class-wpwc-public.php on line 123
Copper is a versatile metal that is used to make many household items. With the introduction of modern chemical treatments, you can now choose from many colorful copper finishes for your copper item.
Copper finishes improve the properties of your furniture, from durability and abrasion resistance to chemical resistance, corrosion resistance, friction reduction, and decorative appeal.
With this guide, we aim to show you the properties of different copper finishes and how they can improve your copper items.
About Lacquered Finishes
Lacquered copper finishes include paint products applied to copper to preserve their appearance. As expected of paint products, wear and tear are inevitable, especially outdoors.
While lacquered finishes require regular maintenance, there are more high-tech finishes currently on the market that perform optimally and can last for a very long time.
Examples of Lacquered Copper Finishes
- Brushed Lacquered
- Distressed Lacquered
- Antiquated Lacquered
All these types include a clear lacquer that preserves luster over time.
About Patina Finishes
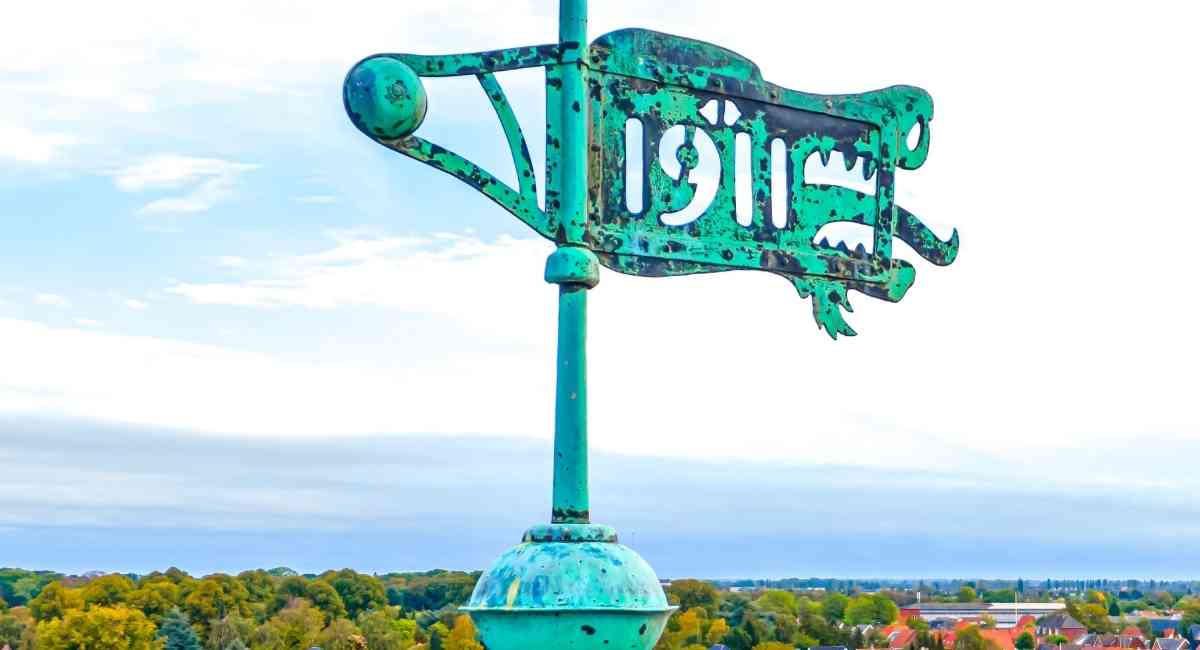
Unlike lacquered finishes, a patina copper finish is not a paint product, but a chemical treatment applied to age the copper surface. With patina finishes, you can skip the aging process and get an antiquated look overnight.
Patina copper finishing can be used both indoors and outdoors. It is great for items with embossing or engravings like furniture moldings and door trim moldings, as they make their embedded features stand out from the darkened and “tarnished” background. When used indoors, items with patina finishes can be lacquer coated to preserve the appearance.
Over time, when unlacquered copper patina finishes are used outdoors, they begin to change and attain their best look several weeks after the first application. The process can be sped up by running water over the product.
Examples of Patina Copper Finishes
- Green Verde Patina #444: Green/Lime patina for copper, brass, and bronze
- Blue-Green Verde Patina #445: Blue-Green patina for copper, brass, and bronze
- Blue Verde Patina #11: Blue turquoise patina for copper, brass, and bronze
- Flemish Violet Patina C15: Flemish finish for copper, brass, and bronze
- Tri Brown Patina C1: Chocolate dark brown finish for copper, brass, and bronze
- Rusty Red Patina (B): Rusty Red patina for copper, brass, and bronze
- Black Patina C22: Black antique finish for copper, brass, and bronze
Other types of finishes include:
- Polished: Requires frequent maintenance to remove tarnish
- Natural Copper: Scratches easily and shows fingerprints
- Aged Copper: Naturally aged copper in an outdoor environment

How Do You Copper A Metal Finish?
Finishing is one of the most important processes when using copper. It involves the application of a protective layer to make it look more beautiful and last longer. There are several ways copper metal can be finished and their final results vary accordingly.
1. Brushed Copper
This is also referred to as mill finish and it’s very effective against surface imperfections. It’s done by sanding, using an abrasive wire brush, or brushing a uniform grain pattern on the surface of the metal.
This type of finish is popular on downspouts and copper gutters.
2. Oil Rubbed Bronze Over Copper
This is an oxidizing solution rubbed into the metal. The oxidation ranges from medium to dark, and it is often scratched or rubbed to show the color of the copper before being clear coated.
This type of finish is common among plumbing fixtures. The solution will wear off over time to give the metal an old and antique look.
3. Polished Copper
This is common among outdoor door and cabinet hardware, light fixtures, and copper cookware. The process involves using a cloth wheel to buff the surface of the metal to achieve a smooth, clean and shiny layer.
Using this finish on red metals will also give a bright and smooth patina outlook.
4. Matte Copper
It is quite similar in appearance to brushed copper. A section is a bead blasted, and the surface is protected with a clear coat, creating a softer and uniform texture.
How Do You Make Metal Look Like Copper?
Metals like stainless steel are usually the most used materials for household items and appliances. While some people prefer copper for most decor, stainless steel makes your furniture look sleek, modern, and extremely durable.
Copper gives your home a more bohemian or rustic feel, so if that’s the kind of style you prefer, you can easily turn your household items into copper by following a few simple steps:
Materials Needed
- Drop cloths or newspaper
- Cleaning solution
- Clean rags
- Medium grit sandpaper
- Safety goggles
- Gloves
- Primer spray paint
- Face mask or respirator
- Copper metallic spray paint
- Fine steel wool
- Car wax or marine varnish
1. Safety First
Since you’re working with toxic materials, you will need to take some safety precautions. Remember to do this entire project in an open, well-ventilated room.
To attain a professional finish, you will also need to protect the rest of the room from paint. Use a drop cloth to cover the floor from dripping paints or other marks. Use painter’s tape to cover other items around the metal that you don’t want to paint.
2. Cleaning the Metal Surface
A clean metal surface is easier to work with and ensures you have a clean finish when done with painting. Before you do anything else, make sure the surface is free from dirt, grease, or buildup.
If your surface isn’t clean, there’s a high chance the primer and paint won’t stick properly. If your metal surface is made of stainless steel, there are dedicated cleaning products that will make your job easier. After cleaning, leave the surface to dry fully before proceeding.
3. Prep the Metal Surface
Use a wet or dry sand paper of medium grit to sand the entire surface of the metal. Stripping the metal off all its gloss will ensure that there’s enough substance for the primer and paint to adhere to. It also ensures you get a more durable and professional finish for your paint job.
After sanding, wipe down the surface to remove any residual dust and leave to dry before progressing to the next stage.
Remember to wear a respirator or a dust mask while sanding to prevent inhaling the tiny metal particles flying around.
4. Prime and Paint
Hold the primer can about a foot away from the metal. Using short strokes, apply a layer of primer spray paint to the entire surface. Short, wide strokes are better than long, narrow ones because they ensure you cover every inch of the surface. Once done, allow the primer to dry according to the instructions on the product packet.
Sand down the sprayed primer with medium-grit sandpaper until the surface is smooth and even. Dust off any residue and spray paint with your copper paint. Hold the spray can about a foot away from the metal and paint using short, wide strokes.
Ensure you keep the spray can moving at all times to avoid overcoating in some areas. Apply the paint in thin layers, a few minutes apart, until you get the color you desire.
Leave your paint to dry for 5 hours or more before handling the project. Also note that the more copper paint you apply, the brighter the finished product will be.
5. Finish
You can add texture and give your project a worn look by shining the metal with fine steel wool. If you want to add an extra coat of copper paint, wait for a week between applying new layers.
Once you’re satisfied, use a sealing polish or marine varnish to give your metal a shining look. Car wax will also protect your paint and give it an adequate luster.
Antique Copper Finish
The antique copper finish gives furniture a refined and traditional appearance, and it is better suited to engrave details on a dark background. The ‘antique’ looks start to appear as a result of oxidation and patina.
At this point, your items would no longer look shiny and bright as before. The color may change to darker over time, giving it an old and rusty appearance.
Products with antique copper finishing require a certain amount of care and maintenance to last longer, so it’s important to follow proper care instructions.
What Is The Difference Between Copper and Antique Copper?
The major difference between copper and antique copper is in their color and appearance.
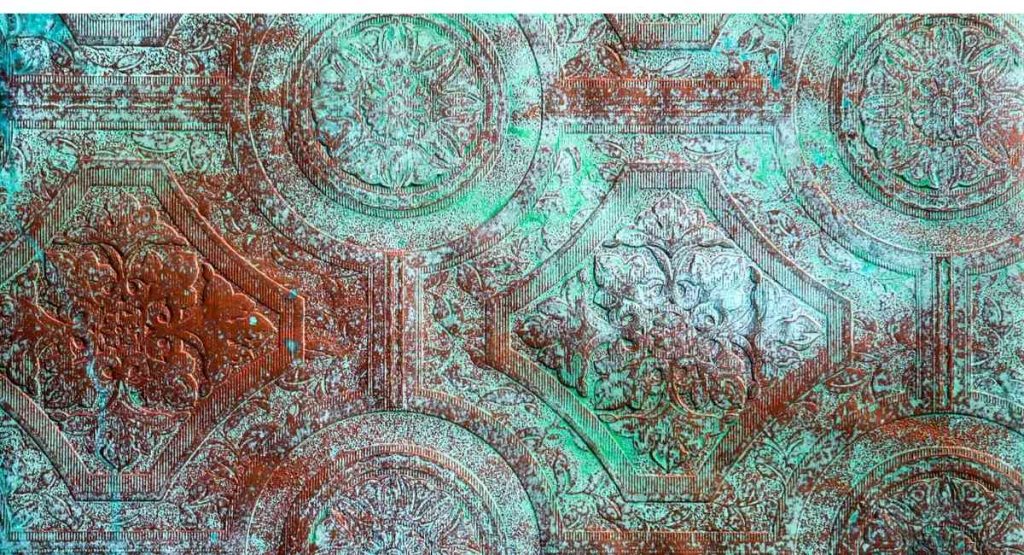
While copper has a shiny, reddish-brown color, antique copper shows a dull patina (also called verdigris) characterized by its green, lackluster appearance and results from a chemical reaction between copper, carbon dioxide, and water, through a process called “aging”.
Copper can accumulate patina naturally over years to form antiqued copper. The aging process may be faster in the presence of humidity, moisture, or large water bodies.
FAQs
What is a Brushed Copper Finish?
This is a thin layer of plated finish that can be applied to brass products.
Copper is preferred for its antimicrobial properties and for giving a very delicate and elegant finish.
Copper ages and oxidizes quickly, turning darker and creating a green patina over time. It is often preferred for indoor furniture.
What is an Antique Copper Finish?
An antique copper finish is made to look traditional, old, and refined. It creates a dark brown surface with a blend of orange, giving it a vintage look and a feeling of nostalgia.
Molting ranges from low to moderate. To achieve the look, an antique patina is applied to the copper by hand. Antique copper should be handled with care for it to last for a long time.
What is Mill Finish Copper?
This is also known as brushed finishing. It is usually applied to highlight small areas to serve as a highlight. You can fix scratches by using fiber pads or abrasive belts to even irregular or curved contours.
Mill copper finish is usually hard to maintain.
What is a Brass Finish?
Brass is a reactive metal that oxidizes swiftly. Finishes are made as a protective layer of coating applied to solid bronze to prevent oxidation. There are different types of brass finishes and they offer different looks.
Brushed brass: This is one of the most popular finishes because it tends to look modern, classy, and bright warm. Just as the name suggests, brushed brass appears as if it has been swept with a tiny brush all over the surface. It is one of the most sought-after brass finishes for kitchen tapware.
Polish brass: This includes a lacquer finishing to prevent patina. The finishing is often reflective and shiny, it’s easy to maintain and is very affordable. While it blends well in a traditional room, it is easily prone to damage and it shows fingerprints and water spots.
Satin brass: This brass is quite bold and blends against any surface, modern or contemporary. Its soft matte finish is covered with a lacquered coat. Satin brass doesn’t usually lead to patinas.
Antique brass: This is specifically made to have an aged appearance of a deep brown shade. It is suitable for vintage-styled places as well as Victorian designs. It closely resembles natural brass without the occurrence of patina or tarnishes.
Weathered brass: This is similar to an antique brass finish but with a vintage feel and less prone to damage.
Burnished brass: This is a mixture of antique, polished, and weathered brass. It is shiny but does not reflect. The amount of patina it gets depends on the method of burnishing used for the brass.
Overall, brass has a longer lifespan and it is quite easy to maintain.
Conclusion
If you want to create a rustic feel in your home, then a copper finish is the way to go. There’s something for every taste, from shiny and new to natural, aged, or antique.
Our team of professionals can handle all the copper finishes outlined above, but if you don’t see what you’re looking for, just ask us. We’ll be more than happy to meet your needs!